| This project is not completed yet - Last update: January 12, 2014 |
PAGE 3 of 4
Let's Shake it!
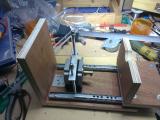
Ok its now time to put some power! I will be using a 200 steps stepper motor and a pair of M6x1mm threaded rod and nut to move the carriage. Here is the raw setup:
 |
 |
 |
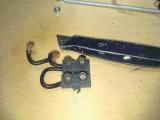
| I hacked this big-size klemens to get a shaft coupling |
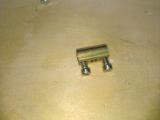
This is what i got out of the klemens |
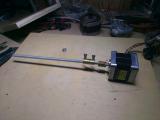
And this is the motor with the M6 threaded rod coupled with the klemens |
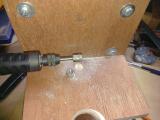
Later on i discovered that using the klemens is a bad idea. I'll show you later what i came up with. First, lets make the pocket for the nut:
 |
 |
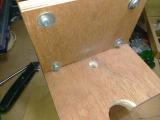 |
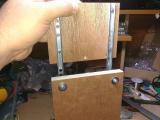
| I had to remove the middle screw from the back of the carriage. It was stupid to put it there in the first place |
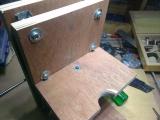
Then i drilled a through-hole with M8 drill for the threaded rod to go through. With the dremel i routed a pocket for the nut. |
This is the final result. you can see the through-hole for the rod and the pocket for the nut. |
 |
 |
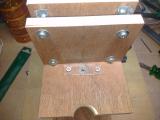 |
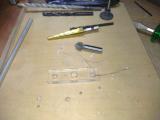
| I had an M8 hole drilled at the center of a plexiglass piece and 2 sink holes on each side. |
This is how the nut is fixed into the pocket. The nut musg fit snugly without rotating. |
The plexiglass holds the nut in place. The rod goes through the middle hole. Two countersink screws hold the plexiglass in place |
The idea is that as the motor rotates, the nut will screw and unscrew in the threaded rod, causing the carriage to move up and down:
Fixing the motor on the frame
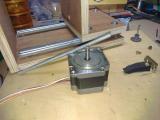 |
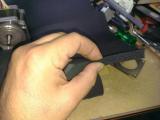 |
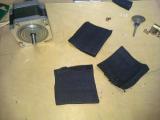 |
| First of, i decided to use a slightly larger motor. It eventually proved to be kinda... oversized... |
This heat-pipe sealant is perfect to absorb vibrations |
I had a few pieces of this brilliant material for use |
 |
 |
 |
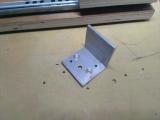
| I then had this L aluminum profile drilled with 2 sink holes to fix it on the frame. This will become the base of the motor |
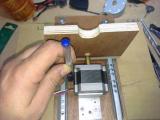
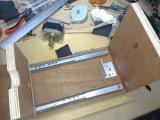
I fixed the L profile on the frame. The motor will not be screwed anywhere, it will be somewhat free to move. I marked also the projection of the sides of the motor on the frame |
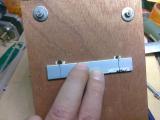
I drilled 2 8mm holes on the frame where the sides of the motor project. |
 |
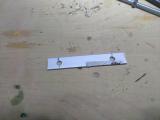 |
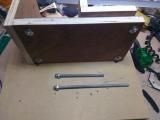 |
| This piece of aluminum will hold the motor in place. I marked the projected holes on it |
Then i drilled a pair of M8 holes. |
I will use these threaded rods to hold the motor in place |
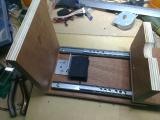 |
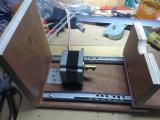 |
 |
| So, here is how all is put together. Firs i lay 2 insulation pieces as shock and vibration absorbers |
Then i placed the motor. The motor is not screwed anywhere |
Then i place the aluminum piece an the motor. The threaded rod goes through the aluminum piece and though the frame, holding the motor in place. |
This is how the whole assy looks like thus far:
Finally, let's secure the motor in place:
 |
 |
 |
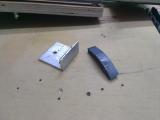
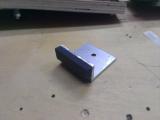
| Another L profiled aluminum piece with shorter side will do the work. |
A self-adhesive rubber will allow some freedom of movement to the motor |
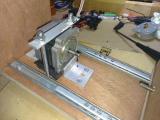
this is how this piece holds down the motor. The motor is free to move and compensate any defect of the rod or nut or misalignment. |
| | 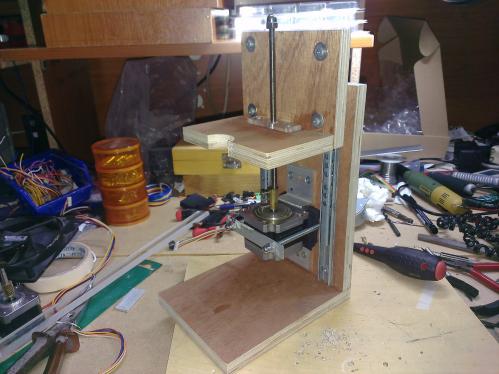
This is the assembly thus far. The motor is fixed so that it can compensate any defects or misalignment of the driving system. Nevertheless, it won't dance like Michael Jackson. | |
Now go ahead, click on this link and read the rest of the worklog
Comments
At 1 February 2014, 13:52:38 user infringer wrote: [reply @ infringer]Wow actually your website has an amazing list of products you are quite the enthusiast to be honest I am very impressed with your work!
As a first time viewer I have this website bookmarked!
Yes I agree you do provide solutions many of them actually. This solution in some ways is superior to my first incantation of an adjustable holder mine was simply going to be threaded rod with a base plate two nuts and washers with a metal tube between them and a set screw to fix the axis to keep it steady from rotation I may still do this to allow for 360 degree range of movement it will be very cheap dirty and simplistic by no means will it be a Cadillac either.
by the way my website is http://www.mopowah.com I have zero members really and I am not worried the least by it eventually I will contain enough content for anyone to deem worthy but I have a vision that just seldom works in principal for my web forum is expansive I do not focus on one area or niche. This most often always results in failure. I would like to will everyone to think outside of the box and be a little less niche based.
The #1 reason behind this theory to collaberate rather than focus on a singular effort is because all great breakthroughs are resultant on ideas from all different topics. There was a discovery channel show that aired showing some of these connections to educate the public on this very thing I was hoping that the idiot box would educate them enough to derive the same conclusion and become a member of my more expansive forum while it has not worked out I presume that with continued effort it will be a birthing ground for great ideas I continue to invest my time and my money every month in hopes that some day that I can operate solely on donations from my many members and possibly amazon based links that are hand inserted and 100% topic related.
At 1 February 2014, 13:17:54 user Giorgos Lazaridis wrote: [reply @ Giorgos Lazaridis]@infringer Hello! Criticism is always welcomed. I began this project to do some of my jobs easier. Meanwhile, i expect for my 3D printer which will change the face of this site radically if you know what i mean. All of my projects aim to give ideas and not 100% solutions. Why? simply because a creative mind needs only ideas to create solutions. Nevertheless you have a point here, it could be more universal.
And of course you can post it in your site (which is???). Remember to add those links to this page ;)
At 1 February 2014, 12:59:06 user infringer wrote: [reply @ infringer]I love the project I have the Chinese model of this hot air station along with a digital thermometer I have been looking for a way to do exactly what you are doing right now. However I do have some reservations to this work the motor is one of these reservations or modifications with it being free mount is it not possible to do say a belt drive or chain drive to provide lift?, I would likely shield all wood with aluminum foil tape,also is there a way to mount the slides on the back and the motor on the back to keep them sealed from heat as the lubricants would easily dry up after the heat is applied in the locality of the unit this to me is important. I would also like to see better thought to go into making this a more universal project. Three things to me that make this project not so universal are, The fact that the fastening rings are not universal this is extremely important for open source developments I suppose it is semi adaptable with different sized clamps but, something that is there that you adjust would be much better for a final build not to insinuate that this was a final build or bad build it is just friendly criticism. Another thing is the extension of the gun away from the frame no two boards are alike for them larger boards it is important that there is ample distance from the frame to allow at the very least an EATX Motherboard for instance maybe a bit more to be safe to fix some PCB's for things like HVAC type stuff or homebrew boards where people are just starting off and really prefer space between their components for optimal understanding due to improved visualization. Finally I would like to see a universal and adjustable mounting system for a digital thermometer or an IR thermometer (While in my case I have found IR based thermometers to be inaccurate on measuring chip surface temps due to reflections or something on a metal surface one could estimate or approximate the temperatures but at times it seems if your results are null when attempting a reflow at proper temps. After enough money invested in IR I suggest digital thermometers as the way forward for reflow.
I would love to reflect and assure you of one thing it is much easier to be the critic than the builder but a critic whether it is self induced or not will most often result in major improvements in any project.
Finally this project to me is a 7 of 10 stars all improvements included or aside it is an excellent project I would love to have permission to have rights to this information to post it on my website if possible.
At 10 January 2014, 12:20:18 user Giorgos Lazaridis wrote: [reply @ Giorgos Lazaridis]@Stephen Leister is not near the top quality manufacturers in EU, its (according to my know,ledge and experience) THE top manufacturer. Which has also not nearly the highest price, but THE highest price. I repaired once a 1400W triac-less heater. Had a dead heating element (it works in a factory 24/7 and the air intake was stuck). The price of the heater was more expensive than half the price of the whole aoyue 968. If you know what I mean...
When business runs like the river, i will equip my lab with expensive tools. But the first expensive tool will be the multimeter (check) and the oscilloscope (comming up next).
At 10 January 2014, 12:02:42 user Stephen wrote: [reply @ Stephen]Hello Giorgos,
I have no idea how this unit fares price wise against the heat gun you are currently using but should you ever plan to buy another, this is the One... the Leister Hot Jet S with 5mm nozzle. I have used this product since 1994 [not the same unit] for all SMD Development and Rework including PLCC [up to PLCC84] and QFP [up to QFP208] devices . I highly recommend this excellent and highly reliable product. No, I don't work for them... He He...
All the best
Stephen
Das Link:
http://www.leister.com/en/plastic-welding-product.html?catalog=1b301b71-fc43-4641-8ef0-506387c3ebfd&subcatalog=&product=f33197fc-95bd-4f1c-a2ae-feefd0862466&view=sparepart |
|
 HOT in heaven! HOT in heaven!

|
|

 Home
Home
 Projects
 Experiments
 Circuits
 Theory
 BLOG
BLOG
 PIC Tutorials
 Time for Science
 Contact
 Forum
Forum
 Projects
 Experiments
 Circuits
 Theory
 BLOG
BLOG
 PIC Tutorials
 Time for Science
 RSS
RSS